Learning to throw a baseball is a fundamental skill for anyone interested in playing America’s favorite pastime.
Whether you’re a child just starting out or an adult looking to join a recreational league, mastering the basics of throwing can greatly enhance your enjoyment of the game. Proper grip, stance, and body mechanics are the key to a good throw.
Throwing a baseball may seem simple, but it involves coordinating several body movements in a smooth, fluid motion.
From positioning your feet to releasing the ball at just the right moment, each step plays a crucial role in achieving accuracy and power.
With practice, these movements will become second nature, allowing you to focus on other aspects of the game.
Developing good throwing technique early on can help prevent injuries and set a strong foundation for more advanced skills.
By focusing on the fundamentals, beginners can quickly improve their performance on the field.
Whether you’re playing catch in the backyard or aiming to make that crucial out during a game, understanding how to throw a baseball properly is essential for success and enjoyment of the sport.
Getting Started with the Basics
Learning to throw a baseball starts with understanding the field and having the right gear.
These fundamentals set the stage for developing proper technique and form.
Understanding the Baseball Diamond
The baseball diamond is where the action happens.
It’s a square-shaped infield with 90-foot baselines connecting four bases.
Home plate sits at one corner, with first, second, and third bases following counterclockwise.
The pitcher’s mound is in the center, 60 feet 6 inches from home plate.
Outfield positions cover the grassy area beyond the infield dirt.
Knowing the layout helps players understand throwing distances and positioning.
It’s crucial for accurate throws to bases or cutoff players.
Essential Equipment for Throwing
A quality baseball is the first must-have item.
Official baseballs have 108 double stitches and a cork center wrapped in yarn and leather.
Gloves come in various sizes and styles.
Infielders use smaller gloves for quick transfers, while outfielders prefer larger ones for catching fly balls.
Proper footwear provides traction and support.
Baseball cleats have spikes or studs on the soles for better grip on dirt and grass.
Comfortable, breathable clothing allows for a full range of motion when throwing.
Many players wear sliding shorts for added protection.
Mastering the Grip and Stance
A solid grip and proper stance form the foundation for throwing a baseball accurately and powerfully.
These fundamentals set the stage for a successful throw, whether you’re pitching or fielding.
The grip determines how the ball is held, influencing its spin and trajectory, while a stable stance ensures balance throughout the throwing motion.
For players keen on enhancing their skills, understanding the mechanics of various pitches is essential; for instance, a slider pitch explained for beginners can provide valuable insights into how to add versatility to their game.
Mastering these basics will not only improve performance but also boost confidence on the field.
The Four-Seam Grip Explained
Beginners must master the four-seam grip.
Place your index and middle fingers across the horseshoe-shaped seams of the baseball.
Your thumb should rest underneath on the smooth leather.
This grip allows for maximum control and velocity.
Keep your fingers spread comfortably, not too tight or loose.
The ball should sit in your fingertips, not deep in your palm.
This positioning helps create backspin, which gives the throw more stability and accuracy.
Practice this grip until it feels natural.
Try picking up the ball and immediately finding the correct finger placement without looking.
This muscle memory will serve you well in game situations.
Setting Up Your Stance
A balanced stance is crucial for a strong throw.
Start with your feet shoulder-width apart, weight evenly distributed.
If you’re right-handed, your left foot should be slightly forward.
For lefties, reverse this position.
Keep your knees slightly bent and your body relaxed.
This athletic posture allows for quick movements and a smooth throwing motion.
Your shoulders should be level and square to your target.
Avoid standing too stiffly or leaning to one side.
A solid stance provides a stable base for your throw and helps prevent injuries.
Practice this stance regularly to make it feel comfortable and natural.
Glove and Ball Alignment
Proper alignment of your glove and throwing arm is key to accuracy.
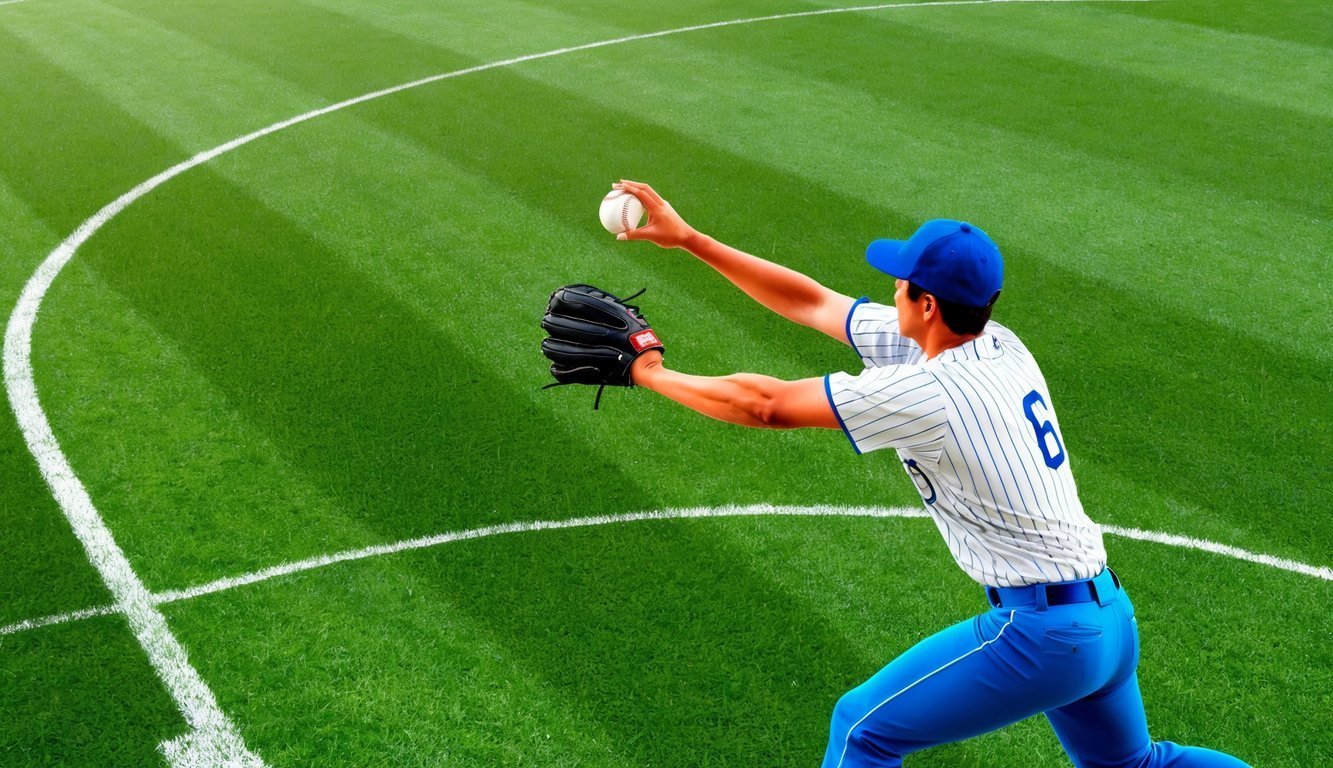
Hold the ball in your throwing hand, nestled in your glove at chest level.
Your glove arm should be relaxed and slightly bent at the elbow.
As you prepare to throw, separate your hands smoothly.
Your glove arm moves down and back, while your throwing arm comes up.
This motion should be fluid and coordinated.
Keep your eyes focused on your target throughout this process.
Good alignment helps generate power and improves accuracy.
Practice this separation drill slowly at first, then gradually increase your speed as you become more comfortable with the motion.
The Mechanics of Throwing

Proper throwing mechanics involve coordinated movements of the entire body.
Mastering these techniques enhances accuracy, power, and arm health for baseball players.
Arm and Shoulder Movement
The arm motion in throwing begins with the elbow above the shoulder.
As the throw progresses, the elbow leads the way, creating a circular path.
The shoulder rotates externally, storing energy like a coiled spring.
At the release point, the arm whips forward.
The elbow extends rapidly, and the shoulder rotates internally.
This sequence transfers energy from the body to the ball.
Proper follow-through is crucial.
The throwing arm should continue its arc across the body, decelerating gradually.
This reduces stress on the shoulder and elbow joints.
Lower Body Dynamics
The legs and hips generate much of the power in a throw.
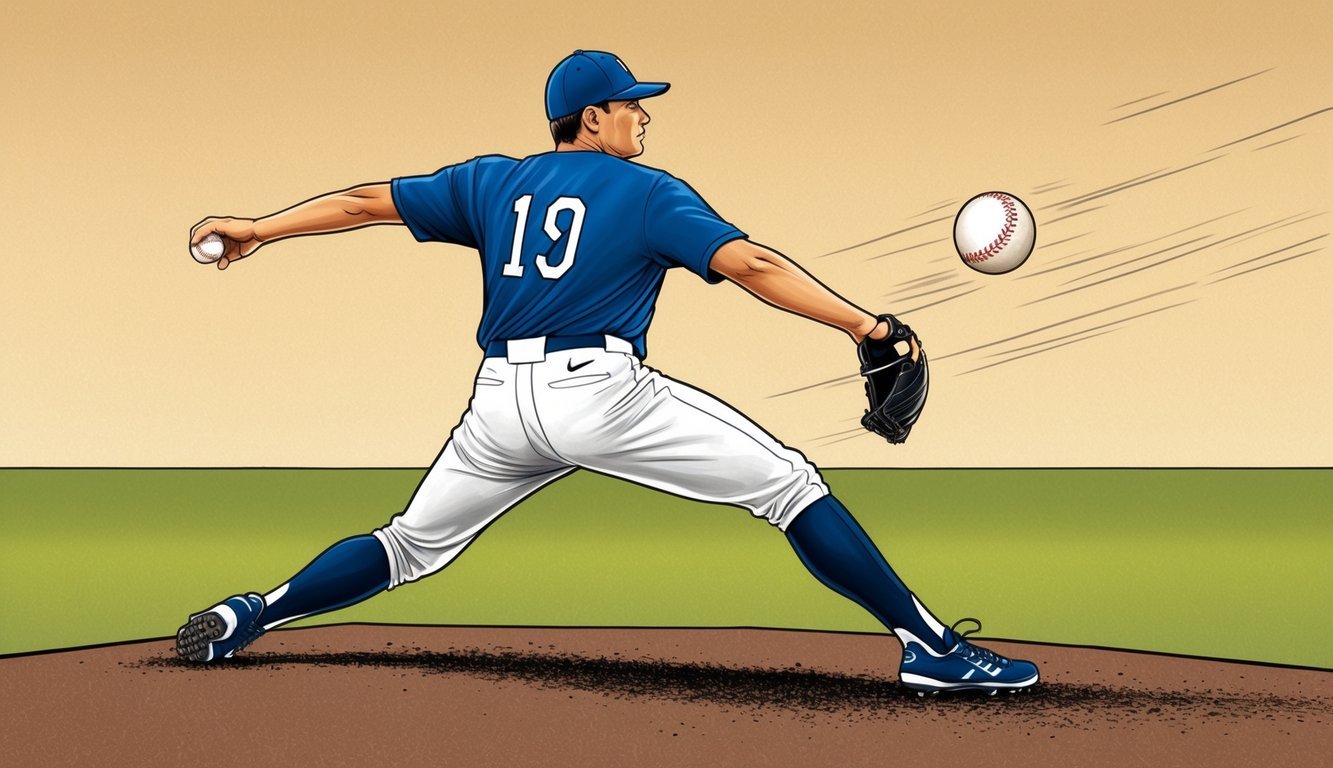
The process starts with a stride toward the target.
This stride should be about shoulder-width and directly in line with the intended throw.
As the front foot plants, the hips begin to rotate.
This rotation creates torque, which translates into throwing velocity.
The back leg drives forward, pushing off the ground to add momentum.
The ankle, knee, and hip of the stride leg work together.
They create a stable base for the upper body to rotate around.
This stability is key for consistent accuracy.
Integrating the Whole Body
A smooth, coordinated throwing motion links the lower and upper body.
The energy transfer begins in the legs, flows through the core, and finishes in the arm.
Timing is critical.
The hips should start rotating before the upper body.
This creates a “separation” that increases power.
The trunk then follows, with the throwing arm being the last to move.
Good posture throughout the throw helps maintain balance.
Keep the head still and eyes focused on the target.
This aids in accuracy and helps prevent excess strain on the back.
Executing the Perfect Throw

The key to a great baseball throw lies in proper aim, a smooth release, and a strong follow-through.
These elements combine to create accuracy, power, and consistency on the field.
Aiming and Releasing the Ball
To aim effectively, focus on your target and align your body.
Point your non-throwing shoulder toward the intended destination.
As you prepare to throw, keep your eyes locked on the target.
Grip the ball using the four-seam method, placing your index and middle fingers across the seams.
This grip offers the most control and velocity.
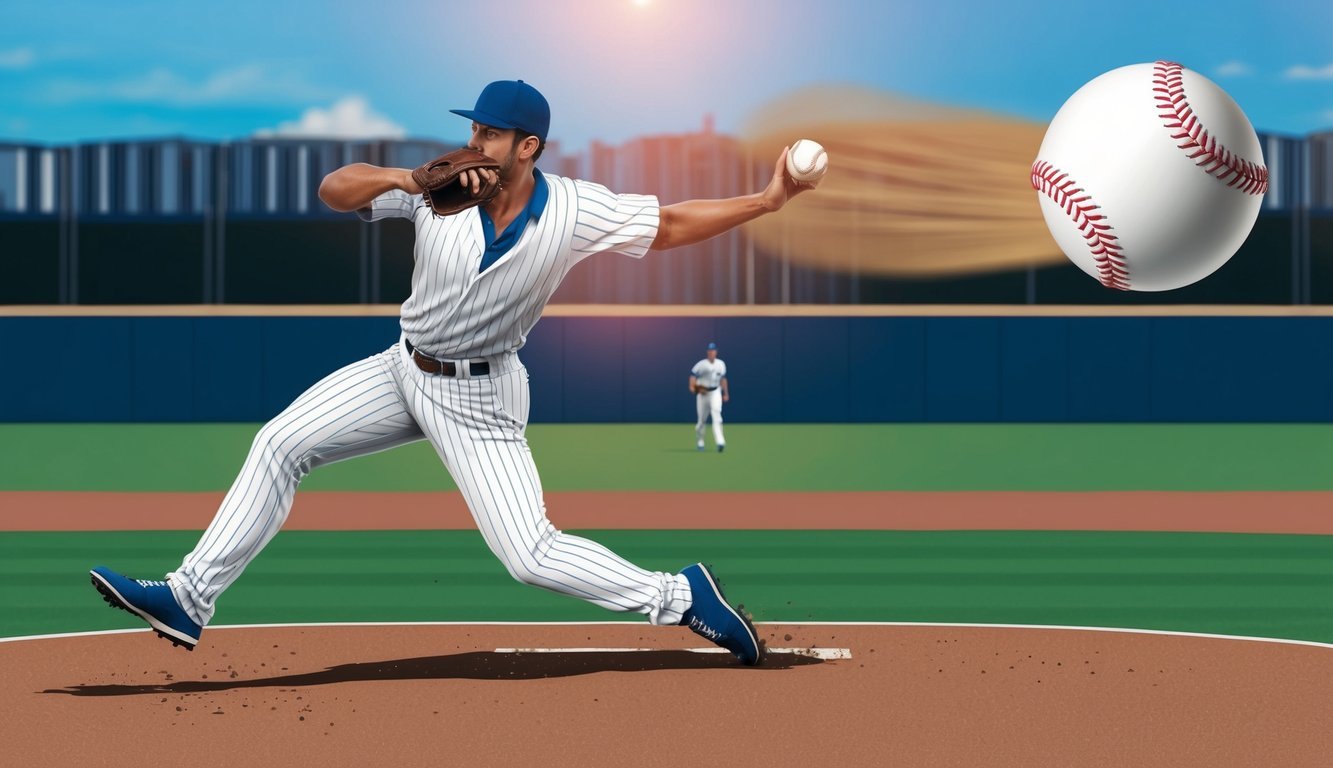
When releasing the ball, snap your wrist forward and let the ball roll off your fingertips.
Time your release at the apex of your throwing motion for optimal power and accuracy.
Practice this motion repeatedly to develop muscle memory.
Follow-Through Techniques
A proper follow-through is crucial for maintaining accuracy and preventing injury.
As you release the ball, allow your throwing arm to continue its downward arc.
Your hand should end up near your opposite hip.
Keep your body moving forward after the throw.
Take a step with your back foot to maintain balance and transfer momentum.
This motion helps increase velocity and improves overall throwing mechanics.
Avoid stopping your arm abruptly after release, as this can strain your shoulder and reduce throw effectiveness.
A smooth, complete follow-through ensures maximum power transfer to the ball.
Practicing for Precision and Power
Regular practice is essential for improving throwing technique.
Start with short distances and gradually increase as you refine your form.
Focus on consistency in your grip, stance, and release point.
Try target practice drills to enhance accuracy.
Set up targets at various distances and aim for them.
This helps develop better control and precision.
To build arm strength and increase velocity, incorporate long toss into your training routine.
Start at a comfortable distance and gradually throw farther as your arm warms up.
Remember to maintain proper form even at longer distances.
Use weighted balls for some of your practice throws.
This can help build arm strength and improve throwing speed.
However, use these sparingly to avoid overexertion.
Advanced Tips for Progress and Practice

Mastering baseball throwing requires dedication, targeted practice, and attention to detail.
These advanced tips will help beginners refine their skills and develop into more proficient players.
Refining Your Technique with Drills
Long toss drills build arm strength and improve accuracy over distance.
Start with a partner 30 feet away and gradually increase to 150-200 feet.
Wall ball drills enhance throwing precision.
Stand 15-20 feet from a wall and aim for a specific spot.
Focus on proper form and follow-through.
Quick hands drill improves release speed.
Have a partner toss balls rapidly while you catch and throw back as fast as possible.
Partner relay drills boost footwork and throwing mechanics.
Set up in a line and practice fielding ground balls, then throwing to the next player.
Learning from Common Mistakes
Rushing the throw often leads to inaccuracy.
Take a moment to set your feet and aim before releasing.
Dropping the elbow below shoulder level reduces power and increases injury risk.
Keep the elbow up throughout the throwing motion.
Stepping towards the target with the wrong foot disrupts balance.
Right-handed throwers should step with the left foot, and vice versa.
Gripping the ball too tightly limits wrist snap and decreases velocity.
Hold the ball with a relaxed grip using the fingertips.
Guidance for Consistent Improvement
Track progress by measuring throwing distance and accuracy.
Set achievable goals and gradually increase difficulty.
Video analysis helps identify areas for improvement.
Record throwing sessions.
Then, review technique with a coach or experienced player.
Strengthen throwing muscles with targeted exercises.
Focus on shoulder rotations, wrist curls, and forearm exercises.
Practice visualization techniques to enhance mental preparation.
Imagine perfect throws and successful plays before stepping onto the field.
Seek feedback from coaches or experienced players.
They can offer valuable insights and personalized tips to refine technique.
