
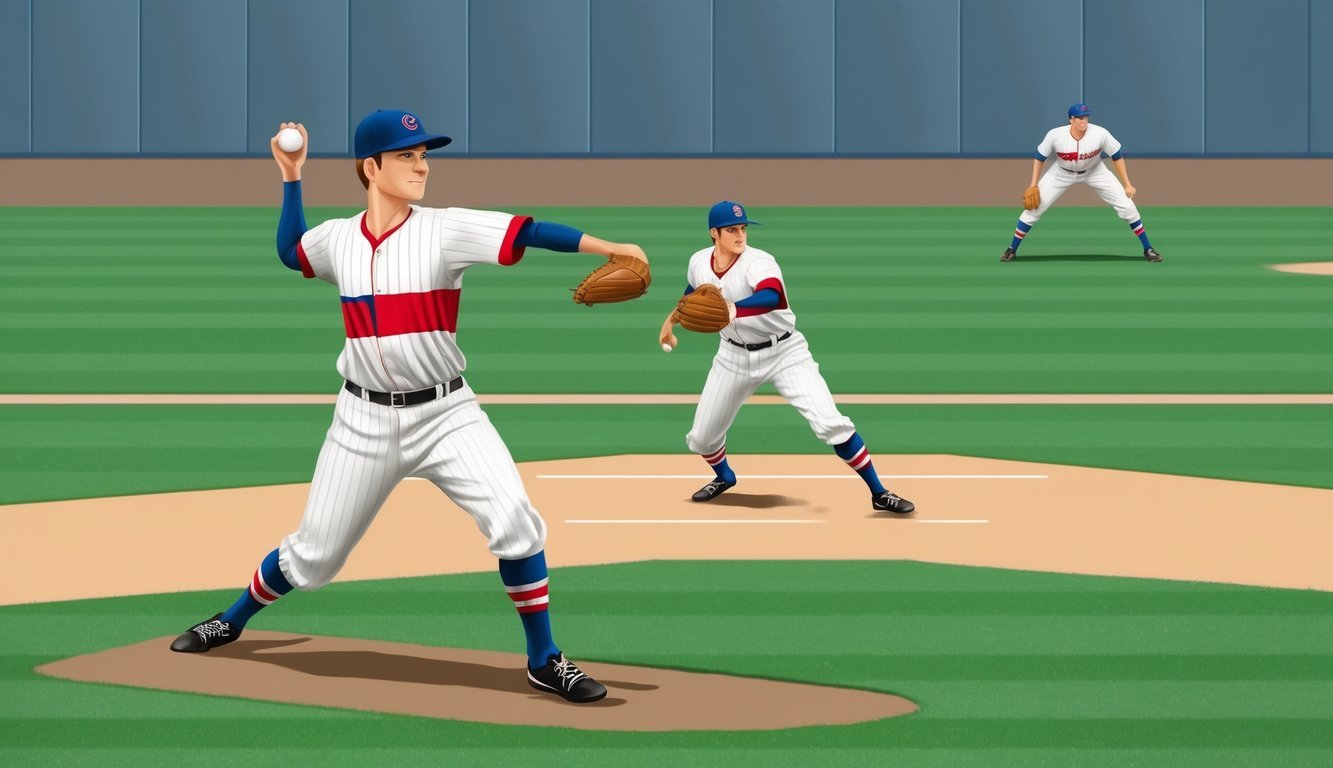
The sinker is a powerful weapon in a pitcher’s arsenal.
This pitch can confuse batters and induce ground balls, making it a valuable tool for any baseball player looking to improve their game.
To throw an effective sinker, grip the ball with your middle and index fingers along the seams, and apply pressure with your thumb on the side of the ball.
Mastering the sinker requires practice and attention to detail.
Pitchers must focus on their arm angle, release point, and follow-through to achieve the desired downward movement.
Many successful MLB pitchers rely on the sinker to keep hitters off balance and generate weak contact.
Learning to throw a sinker can elevate a pitcher’s performance on the mound.
By incorporating this pitch into their repertoire, players can expand their options and keep batters guessing.
With dedication and proper technique, even amateur players can develop a formidable sinker that will give them an edge on the diamond.
By consistently practicing grip adjustments and wrist positioning, pitchers can refine their control and movement.
Watching games in historic baseball stadiums can also provide valuable insights, as players observe how professionals execute the pitch under various conditions.
Studying these techniques and applying them in practice can help any aspiring pitcher elevate their game.
Understanding the Sinker
The sinker is a powerful pitch that can keep batters guessing and induce ground balls.
It combines downward movement with lateral break, making it a challenging pitch to hit squarely.
Defining the Sinker Pitch
A sinker is a type of fastball that drops and moves laterally as it approaches home plate.
It’s thrown with a two-seam grip, similar to a two-seam fastball.
The key difference lies in the pitcher’s wrist position and release point.
Pitchers apply pressure with their middle and index fingers along the seams.
This creates topspin and arm-side run, causing the ball to sink and move away from same-handed batters.
The sinker typically ranges from 88-94 mph for most pitchers.
Its effectiveness comes from its late, sharp movement rather than pure velocity.
The Role of Spin and Pressure
Spin and pressure are crucial elements in throwing an effective sinker.
The pitch’s movement is created by a combination of forward spin and sideways rotation.
Pitchers generate this spin by:
- Applying pressure with their fingers on the seams
- Pronating their wrist slightly at release
- Maintaining a consistent arm slot
The amount of pressure and the exact release point can affect the pitch’s break.
More pressure often leads to greater sink, while less can result in more lateral movement.
Mastering the right balance of spin and pressure takes practice.
Pitchers often spend years refining their sinker technique.
Sinker vs. Other Pitches
The sinker shares similarities with other pitches but has distinct characteristics:
| Pitch | Movement | Speed | Purpose |
|---|---|---|---|
| Sinker | Downward + lateral | 88-94 mph | Induce ground balls |
| Two-seam fastball | Slight sink + run | 90-96 mph | Weak contact |
| Curveball | 12-6 or 11-5 break | 70-85 mph | Miss bats |
| Slider | Late, sharp break | 80-90 mph | Swings and misses |
Unlike a curveball or slider, which rely on significant speed differential, the sinker’s effectiveness comes from its late movement.
It can be particularly devastating when paired with a four-seam fastball, as the two pitches look similar out of the hand but move in opposite directions.
The sinker’s ground ball-inducing ability makes it a valuable pitch for getting out of jams or keeping pitch counts low.
Its movement can also make it an effective strikeout pitch when located well.
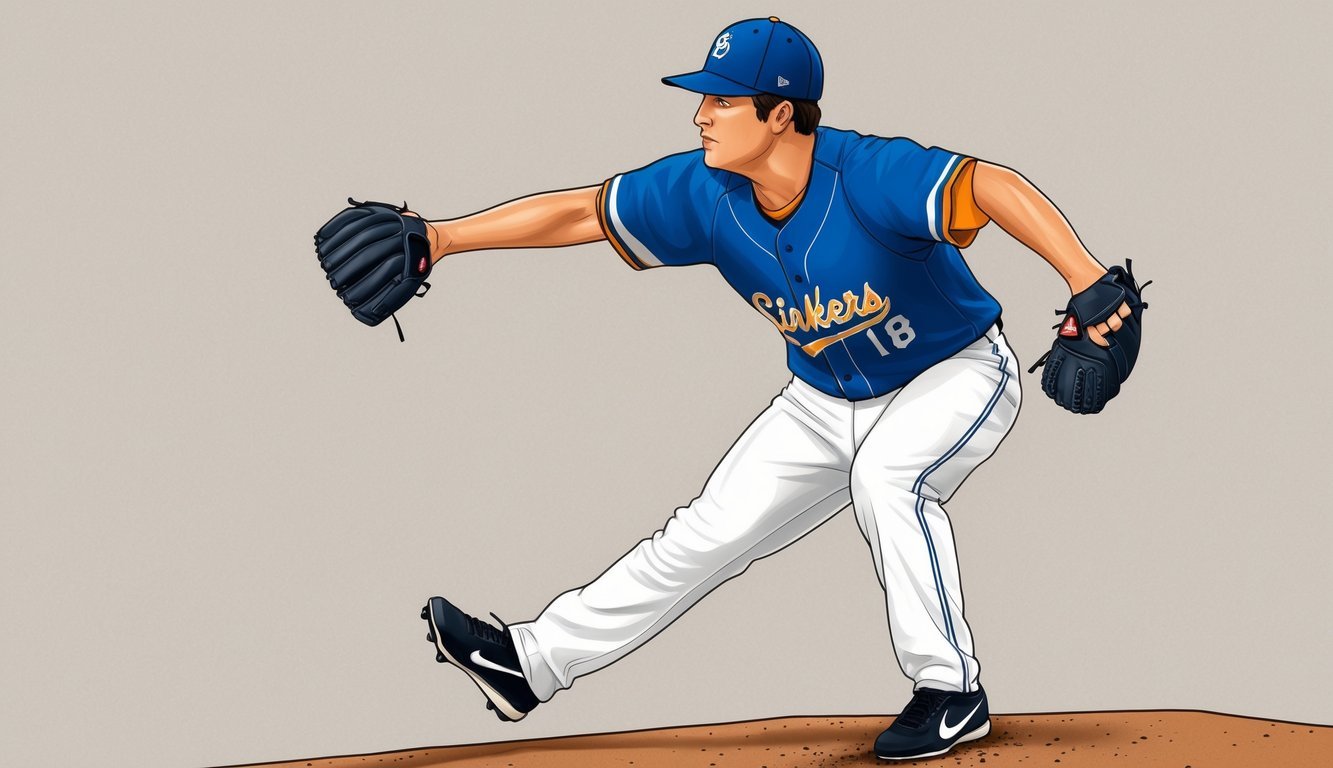
The Proper Grip and Release
Mastering the grip and release is crucial for throwing an effective sinker.
The right technique creates the necessary spin and movement to fool batters.
Gripping the Ball for a Sinker
The sinker grip starts with placing the middle and index fingers along the seams of the baseball.
Position your thumb underneath, directly opposite your fingers.
Some pitchers prefer a two-seam grip, while others use a four-seam grip.
Experiment to find what feels most comfortable and produces the best results.
For a two-seam grip, place your fingers along the narrow seams.
With a four-seam grip, position your fingers across the horseshoe-shaped part of the seams.
The key is to find a grip that allows you to apply pressure with your middle finger at release.
Release and Finger Pressure
When releasing the sinker, focus on applying pressure with your middle finger.
This creates the spin that causes the ball to drop and move arm-side.
As you release, pronate your wrist slightly, turning it inward.
The release point should be slightly in front of your body.
Aim to “pull down” on the ball rather than pushing it forward.
This downward action enhances the sinking motion.
Practice consistent finger pressure.
Too much pressure can cause the ball to sail, while too little may result in a flat pitch.
Adjusting Arm Angle and Delivery
Your arm angle plays a significant role in the sinker’s effectiveness.
A lower arm slot often produces more horizontal movement, while a higher slot can increase vertical drop.
Experiment with different arm angles to find what works best for you.
Some pitchers have success with a three-quarter arm slot, while others prefer a more over-the-top delivery.
Maintain a consistent arm speed throughout your delivery.
Slowing down your arm can tip off batters.
Focus on a smooth, fluid motion from start to finish.
Remember that small adjustments in your delivery can significantly impact the sinker’s movement.
Keep track of what works and refine your technique through regular practice.
Pitching Mechanics and Stance
Proper mechanics and stance are crucial for throwing an effective sinker.
They ensure power, accuracy, and consistency while minimizing injury risk.
Mastering these fundamentals will set the foundation for a devastating sinker pitch.
Stance and Windup Techniques
Start with feet shoulder-width apart on the rubber.
Keep knees slightly bent and body relaxed.
For a windup, bring hands together at chest level.
Lift the lead leg, bringing the knee up and in towards the chest.
As you stride forward, rotate your hips and shoulders towards home plate.
Keep your head still and eyes focused on the target.
The non-throwing arm should come down and back as you begin your forward motion.
For the stretch position, stand sideways with feet about shoulder-width apart.
The throwing hand and glove should be held at waist level.
Step back with your push-off foot as you begin your delivery.
From the Mound to the Plate
Push off the rubber explosively with your back leg.
Drive your body forward, leading with your hip.
Keep your upper body tall through the delivery.
As you release the ball, your throwing hand should finish down and across your body.
Maintain a consistent arm slot for all pitches to avoid tipping off batters.
Follow through completely, allowing momentum to carry your back leg forward.
Land on a flexed front leg to absorb impact.
Good balance throughout the motion is key.
Practice drills that focus on body control and repeatability of your mechanics.
Preventing Injuries
Proper warm-up is essential.
Start with light throwing and gradually increase intensity.
Stretch arm and shoulder muscles thoroughly before pitching.
Use good mechanics consistently to reduce stress on your arm.
Don’t overthrow.
Focus on location and movement rather than pure velocity.
Listen to your body and don’t pitch through pain.
Adequate rest between outings is crucial, especially for younger players.
Strengthen your core and lower body.
This provides a stable base for pitching and takes pressure off your arm.
Stay hydrated and maintain overall fitness to support your pitching performance.
Mastering Control and Movement
Throwing an effective sinker requires precise control and intentional movement.
Pitchers must develop command over the ball’s spin, trajectory, and placement to keep batters guessing and induce ground balls.
Achieving Consistent Strikes
Consistency is key when throwing sinkers.
Focus on repeating your delivery mechanics to hit the strike zone reliably.
Practice throwing to specific targets, aiming low in the zone where sinkers are most effective.
Work on maintaining a consistent arm slot and release point.
This helps generate the desired downward movement.
Experiment with slight adjustments to your grip pressure to fine-tune control.
Use a pitching net or marked strike zone during practice sessions.
Aim for the bottom corners, where sinkers are toughest to hit.
Track your accuracy and make small tweaks until you can hit your spots repeatedly.
Varying Speed and Trajectory
A great sinker isn’t just about movement – changing speeds keeps batters off-balance.
Learn to take a bit off your sinker without losing its signature drop.
Try these variations:
- Hard sinker: Max effort, 90-95% velocity
- Medium sinker: 85-90% effort
- Slow sinker: 80-85% effort, focus on movement
Adjust your grip slightly to alter the sinker’s path.
Moving your fingers can create more horizontal or vertical movement.
Practice these subtle changes until you can command different trajectories at will.
Mix in four-seam fastballs to keep hitters guessing.
The contrast in movement makes your sinker even more effective.
Handling Batters and Game Situations
Reading batters and adapting to game situations separates good sinker pitchers from great ones.
Study hitter tendencies and adjust your approach accordingly.
Against pull hitters, work the outside corner to induce weak contact.
For opposite-field hitters, jam them inside with sharp movement.
In crucial situations, trust your best sinker location.
Use the count to your advantage:
- 0-0, 1-0: Throw for a strike
- 1-1, 2-1: Aim just off the plate
- 2-2, 3-2: Go for the bottom of the zone
With runners on, focus on getting ground balls for double plays.
In late innings, dial up the intensity for maximum movement and strikeout potential.
Practice Drills and Routine

Mastering the sinker pitch requires dedicated practice and a structured routine.
Consistent repetition and focused drills help develop muscle memory and improve command.
Effective Drills for Sinker Pitches
One effective drill is the towel drill.
Pitchers wrap a towel around their throwing hand and practice the sinker motion.
This helps focus on arm action and release point without a ball.
Another useful exercise is the two-seam toss.
Pitchers throw sinkers at short distances, emphasizing proper grip and finger pressure.
This drill enhances feel for the pitch and promotes consistency.
The bullpen session is crucial for sinker development.
Pitchers throw 20-30 sinkers, focusing on location and movement.
Mixing in other pitches helps simulate game situations.
Building Muscle Memory
Consistent repetition is key to building muscle memory for the sinker.
Pitchers should throw 50-100 sinkers daily, even without a catcher.
Mirror work helps reinforce proper mechanics.
Pitchers practice their sinker motion in front of a mirror, paying attention to arm angle and body positioning.
Long toss with a sinker grip improves arm strength and pitch feel.
Start at 60 feet and gradually increase distance, maintaining proper mechanics throughout.
Strategies for Long-Term Improvement
Video analysis is a powerful tool for long-term improvement.
Pitchers should record their sinker throws and review footage to identify areas for refinement.
Tracking spin rate and movement data helps pitchers understand their sinker’s effectiveness.
Use tools like Rapsodo or Trackman during practice sessions.
Incorporating sinkers into live batting practice allows pitchers to gauge hitter reactions and make adjustments.
This helps develop game-like command and confidence.
Vary sinker usage in different counts and situations to keep hitters guessing.
This strategy enhances the pitch’s effectiveness as a strikeout weapon.